Bootstrap Radio Working
Introduction
In some instances the little features happen to be simply the very critical due to the fact that the whole entire picture is in reality a entirely including lots of tiny elements refined and stacked in order to view and feature just as a well-oiled shiny machine. These kinds of bold phrases might possibly appear a little too much whenever it comes to create controls yet if you just consider about it for a little there is simply just a single component enabling the website visitor to get one out of a several available solutions. And so if you're possessing several forms having this form of selections controls over your various websites does this mean they are going to all look identical? And more essentially-- would you agree to that?
Happily for us current version of one of the most favored mobile phone friendly framework - Bootstrap 4 comes completely loaded having a brilliant brand new treatment to the responsive activity of the Bootstrap Radio Toggle regulations and what is bright new for this version-- the so called custom form regulations-- a palette of predefined visual appeals you can simply just take and operate if you want to put in the so wanted nowadays selection in the functional performances of pretty boring form features. So let's check out just how the radio buttons are made to be specified and styled in Bootstrap 4. ( more tips here)
Steps to use the Bootstrap radio button:
In order to create a radio button we first require a
<div>.form-check.form-check-inline.radio.radio-inline.disabledWithin the
.form-check<label>.form-check-label<input>.form-check-inputtype = “radio”name = “ ~ same name for all the options ~ ”id = “ ~ unique ID ~ “value=” ~some value here ~ ”disabled<input>This is in addition the location to specify in the event that you want the radio control to first load as checked once the page gets loaded. In the event that this is actually what you are actually after-- in place of
disabledchecked<input>checkedCheckbox and even Bootstrap Radio Inline as an examples
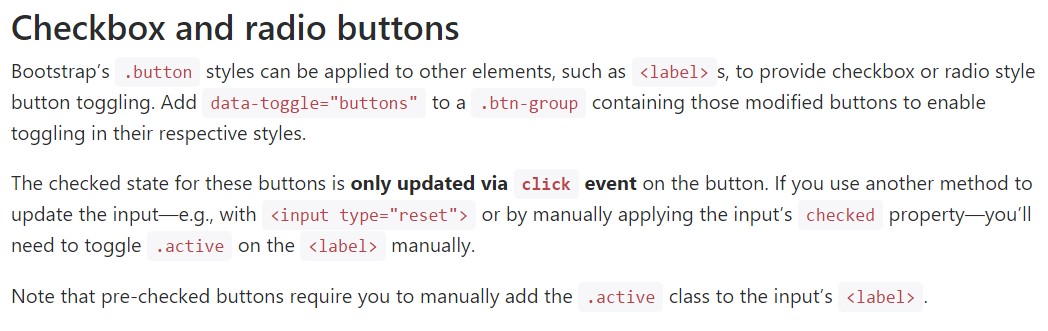
The inspected status for these buttons is only upgraded via click event on the button. If you use another solution to modify the input-- e.g., with
<input type="reset">.active<label>Keep in mind that pre-checked buttons need you to manually provide the
.active<label>Checkbox

<div class="btn-group" data-toggle="buttons">
  <label class="btn btn-primary active">
    <input type="checkbox" checked autocomplete="off"> Checkbox 1 (pre-checked)
  </label>
  <label class="btn btn-primary">
    <input type="checkbox" autocomplete="off"> Checkbox 2
  </label>
  <label class="btn btn-primary">
    <input type="checkbox" autocomplete="off"> Checkbox 3
  </label>
</div>
Radio

<div class="btn-group" data-toggle="buttons">
  <label class="btn btn-primary active">
    <input type="radio" name="options" id="option1" autocomplete="off" checked> Radio 1 (preselected)
  </label>
  <label class="btn btn-primary">
    <input type="radio" name="options" id="option2" autocomplete="off"> Radio 2
  </label>
  <label class="btn btn-primary">
    <input type="radio" name="options" id="option3" autocomplete="off"> Radio 3
  </label>
</div>
Radio button option
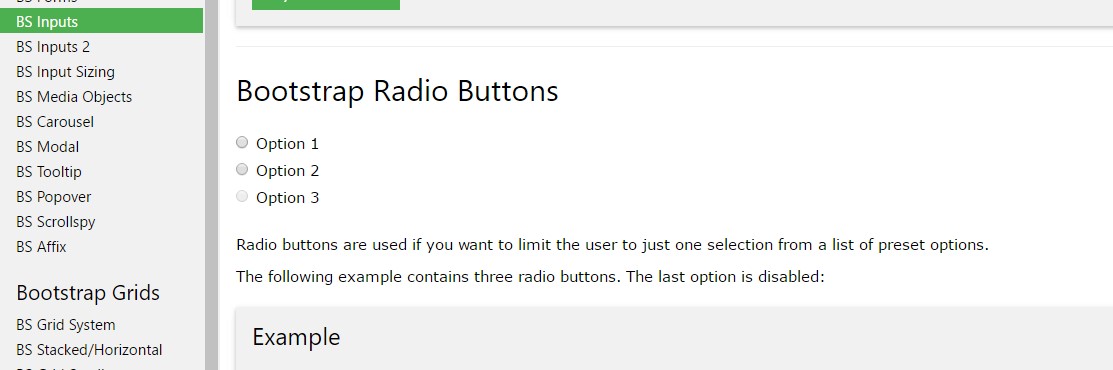
We may put to work input components of the radio option when we wish the user to go for solely one of a series of possibilities. ( click here)
As soon as there is more than just one particular element of this particular option along with the identical value within the name attribute, just one can possibly be chosen.

<div class="row">
  <div class="col-lg-6">
    <div class="input-group">
      <span class="input-group-addon">
        <input type="checkbox" aria-label="Checkbox for following text input">
      </span>
      <input type="text" class="form-control" aria-label="Text input with checkbox">
    </div>
  </div>
  <div class="col-lg-6">
    <div class="input-group">
      <span class="input-group-addon">
        <input type="radio" aria-label="Radio button for following text input">
      </span>
      <input type="text" class="form-control" aria-label="Text input with radio button">
    </div>
  </div>
</div>
Conclusions
Essentially this is the approach the default radio buttons get specified and do a job along in Bootstrap 4-- in a moment everything you need are some possibilities for the visitors to pick from.
Inspect a couple of video short training relating to Bootstrap Radio Button:
Related topics:
Bootstrap buttons main documents
Bootstrap Radio button - tutorial
Checkbox radio buttons break entire toolbar styling
